website logo
⌘K
Hand Held Legend Wiki
Modding Tips
Sensitive Touch Sensors
Removing Adhered Screens
Restore Your Original Gameboy Bumper Buttons To Factory
IPS Comparison Info
Headphones Working But Speaker Is Not
Power Switch Cleaning Guide
IPS LCD Dry Test
GBA SP | IPS LCD Dry Test
Soldering Iron Guide
HHL Products
GC Pocket Adapter
Open Controller DevKit
Retro-C Cable Information
RetroGlow
ProGCC V2 and V1
Torx Screw Kits
Console Guides
Game Gear
Electrolytic Re-Cap Guide
Nintendo Switch
GameCube
Game Boy (DMG)
Game Boy Pocket
Game Boy Color
Game Boy Advance (AGB)
Game Boy Advance SP
Mod Install Guides
Nintendo Switch
Game Gear
GameCube
Game Boy (DMG)
Game Boy Pocket/Light
Game Boy Color
Game Boy Advance (AGB)
Game Boy Advance SP
Atari Lynx
WonderSwan
Product Usage Guides
Writing A Rom To A Flash Cart
🧃 CleanJuice Modules
Game Boy Color
Troubleshooting
🔉Audio
IPS Troubleshooting Guide
⚡EZ-Flash Omega Troubleshoot
🔋 Power Switch Is Too Small
Developer Center
OpenJoyPad HID USB Specification
USB Product IDs Used
Nintendo Switch
Affiliate Guidelines
Docs powered by archbee 

RetroGlow for GBA (AGB) | Install Guide

7min

This guide assumes that you have already followed our disassembly guide.

This guide also requires soldering, be sure to check our guide for soldering!

Video Guide:


Written Guide:

This kit comes printed together as one large piece, you will need to use either scissors or a pair of flush cutters in order to seperate the pieces. Make sure to only cut on the dotted lines, and do not cut any traces.

Document image


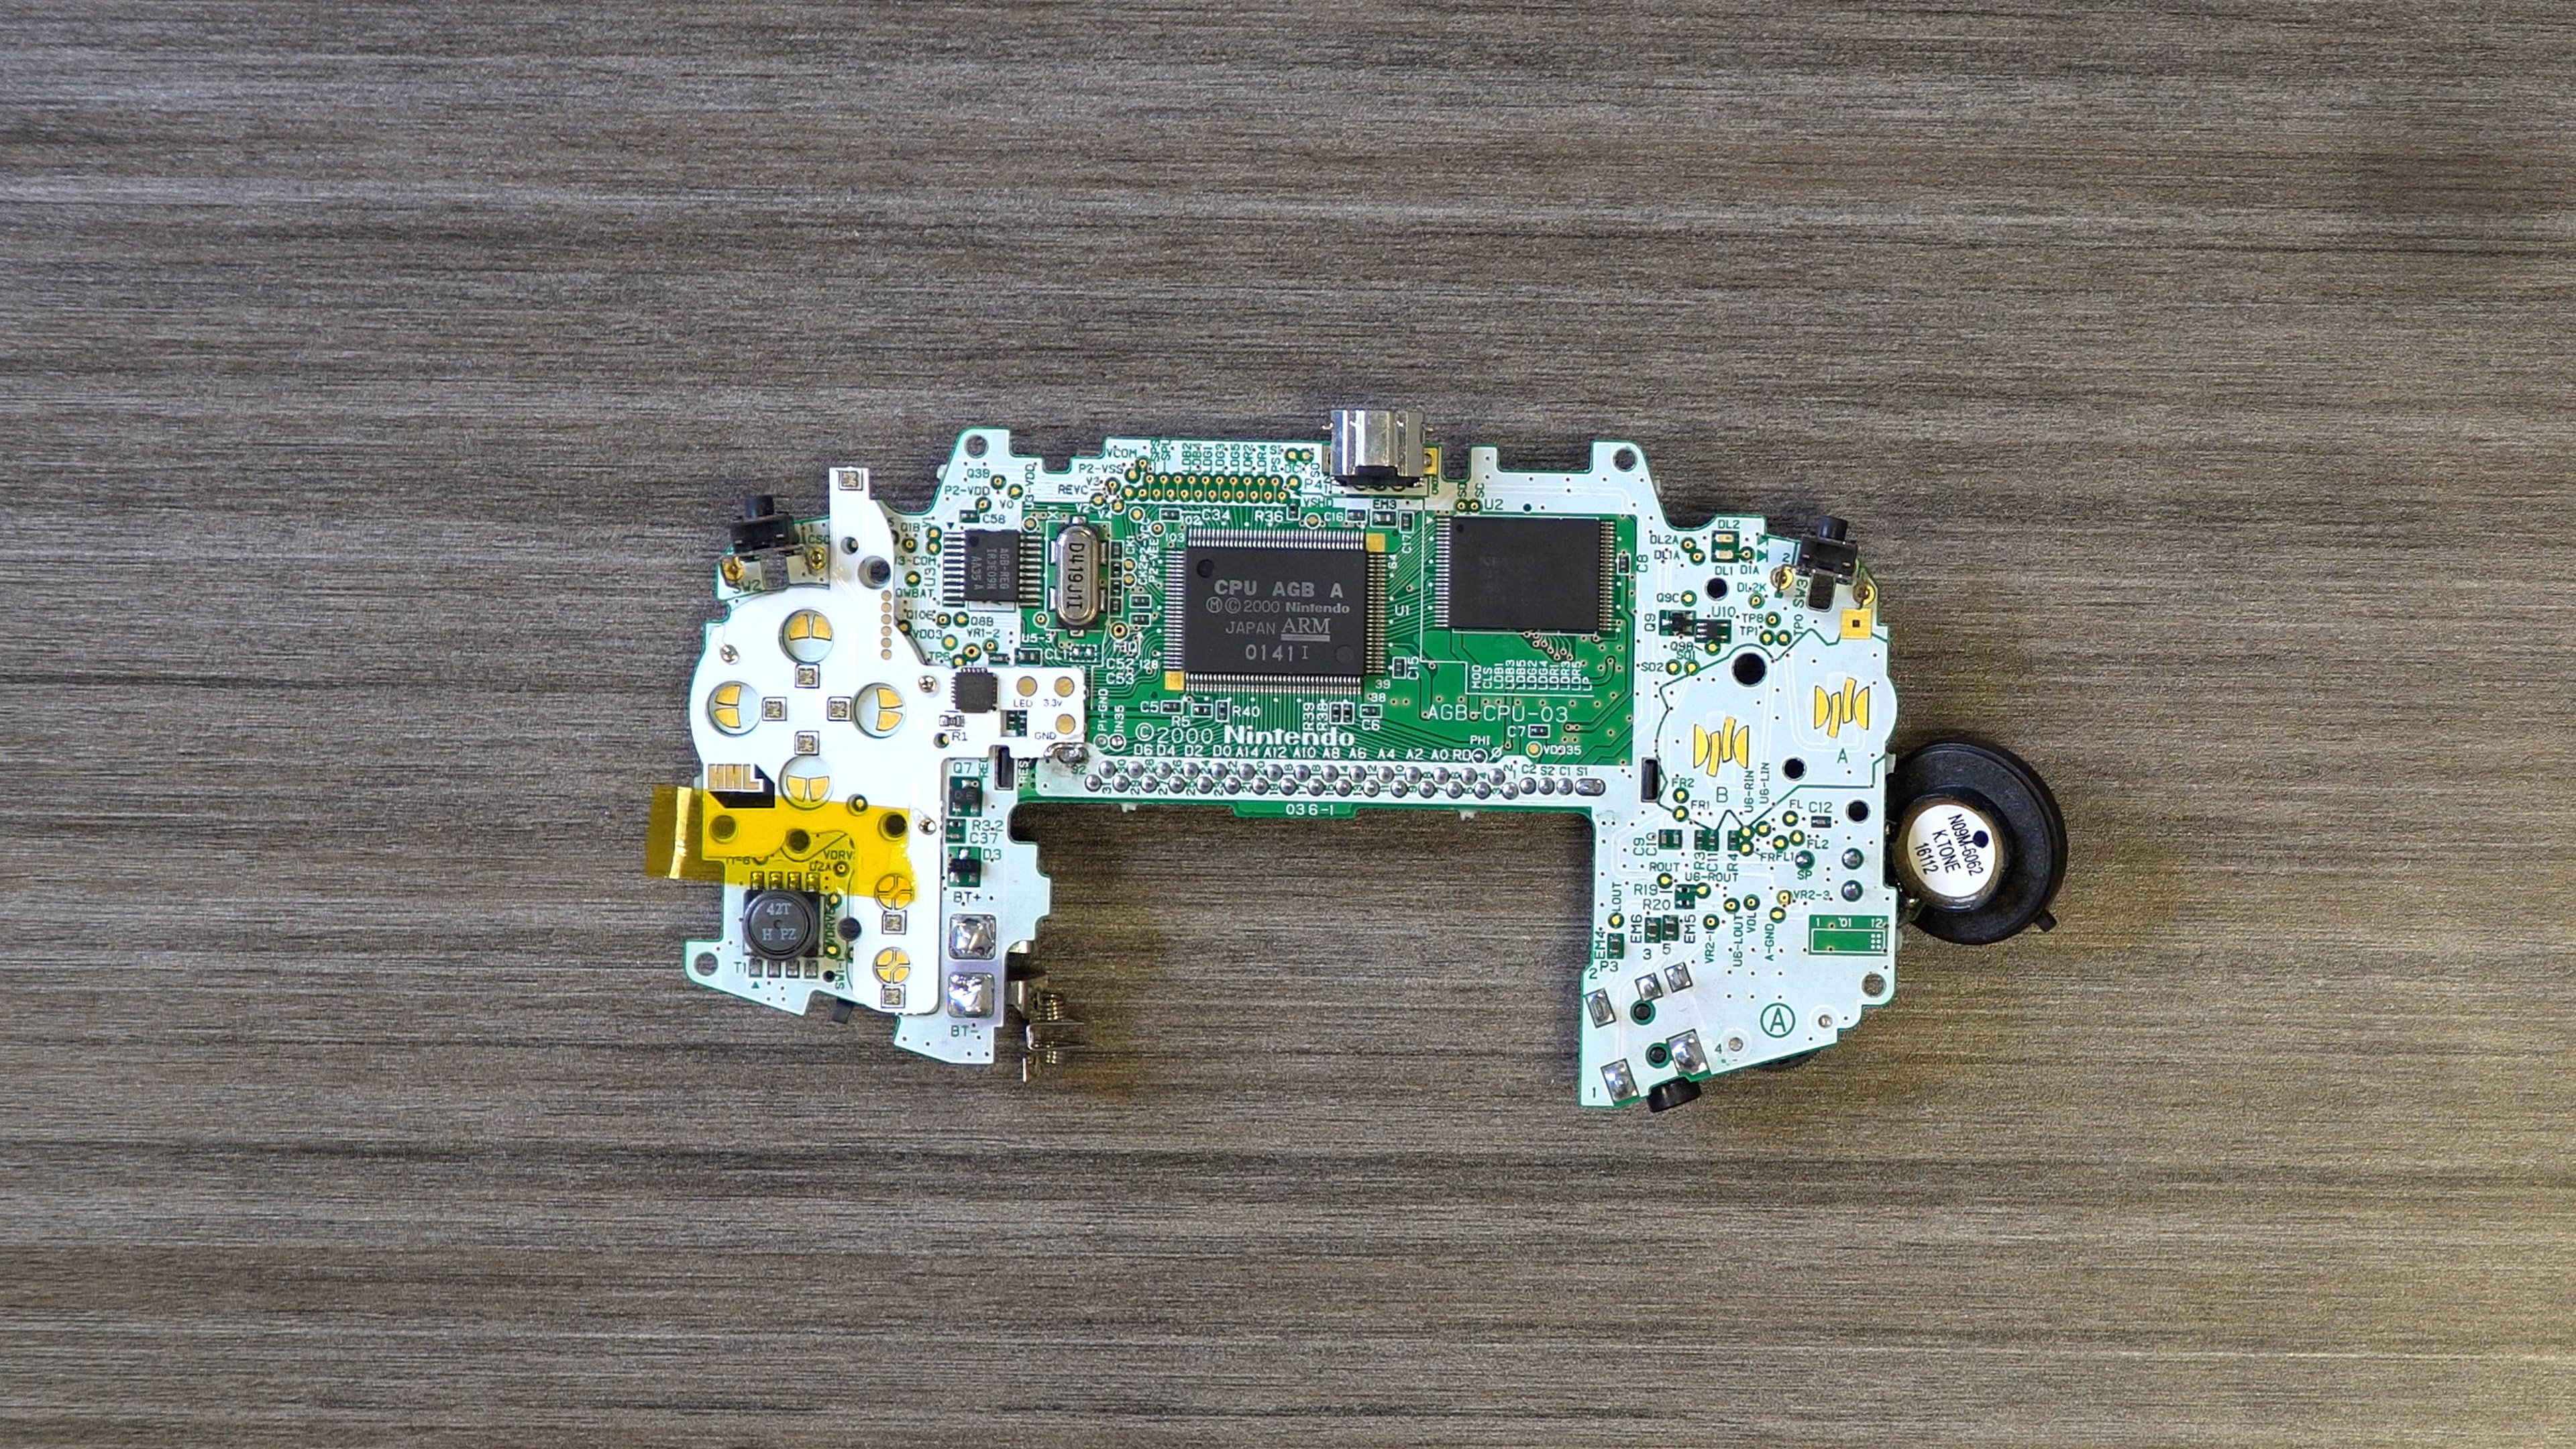
We recommend aligning the pcb and holding it in place with kapton tape while soldering.
Document image


Solder all the points with a copper ring around them. Repeat the process on the other side of the board, there is only two points to solder on this side.

Document image


Finally there is a long piece that will connect both halves of the console, it needs to be soldered onto the main pads on both sides.

Document image


Once you have everything soldered, it's time for a test, place it in the bottom half of the shell and give it a test.

Document image


If all the lights turn on, then proceed onto final reassembly.

Document image


Updated 03 Mar 2023
Did this page help you?
Yes
No
PREVIOUS
RetroGlow for GBA (SP) | Install Guide
NEXT
RetroGlow for GBC
Docs powered by archbee 
TABLE OF CONTENTS
Video Guide:
Written Guide: